
Stay Connected Anywhere: The Simple Guide to Using an eSIM for Travel
An eSIM for travel is a digital SIM card embedded in your phone that lets you instantly activate a local or global data plan without touching a physical card. It turns your device into a roaming-free powerhouse, giving you immediate connectivity in 190+ countries while bypassing expensive carrier fees and airport SIM kiosk lines. Just scan a QR code, pick a plan, and you’re online in minutes—with complete freedom to switch carriers anytime as you hop borders, all while keeping your primary number active. That’s the fastest, leanest way to stay connected on the move.
What Exactly Is a Travel eSIM and How Does It Work on Your Phone?
A travel eSIM is a digital SIM card you download onto your phone before a trip, replacing the need to physically swap out your home SIM. It works by storing your travel data plan directly on your phone’s built-in eSIM chip. Once you land, your phone automatically connects to a local network in your destination, using that pre-purchased data allowance. You manage everything through your phone’s settings, where you can switch between your home SIM for calls and the travel eSIM for data. There’s no hunting for physical SIMs or worrying about roaming charges—you simply scan a QR code, install the profile, and stay connected instantly.
Understanding the Difference Between a Physical SIM and an Embedded SIM

A physical SIM is a removable plastic card that stores your identity; an embedded SIM (eSIM) is a soldered chip inside your phone that holds the same data digitally. For travel, this difference matters practically: with a physical SIM, you must swap cards, keep the original safe, and risk losing it. With an **eSIM for travel**, you scan a QR code or download a profile, and your phone instantly switches to a local data plan without touching your home number. Your device’s serial number links the eSIM, so there’s nothing to insert or eject. A key term is remote provisioning, meaning you can change carriers mid-trip via settings—no store visit required. If your phone lacks a physical tray, an eSIM is your only option.
Q: Can I use both a physical SIM and an embedded SIM simultaneously?
A: Yes, most modern phones support dual SIM—one physical and one eSIM—letting you keep your home line active for calls while using the travel eSIM for data, all without removing anything.
Which Phones Support eSIM Technology for International Trips?
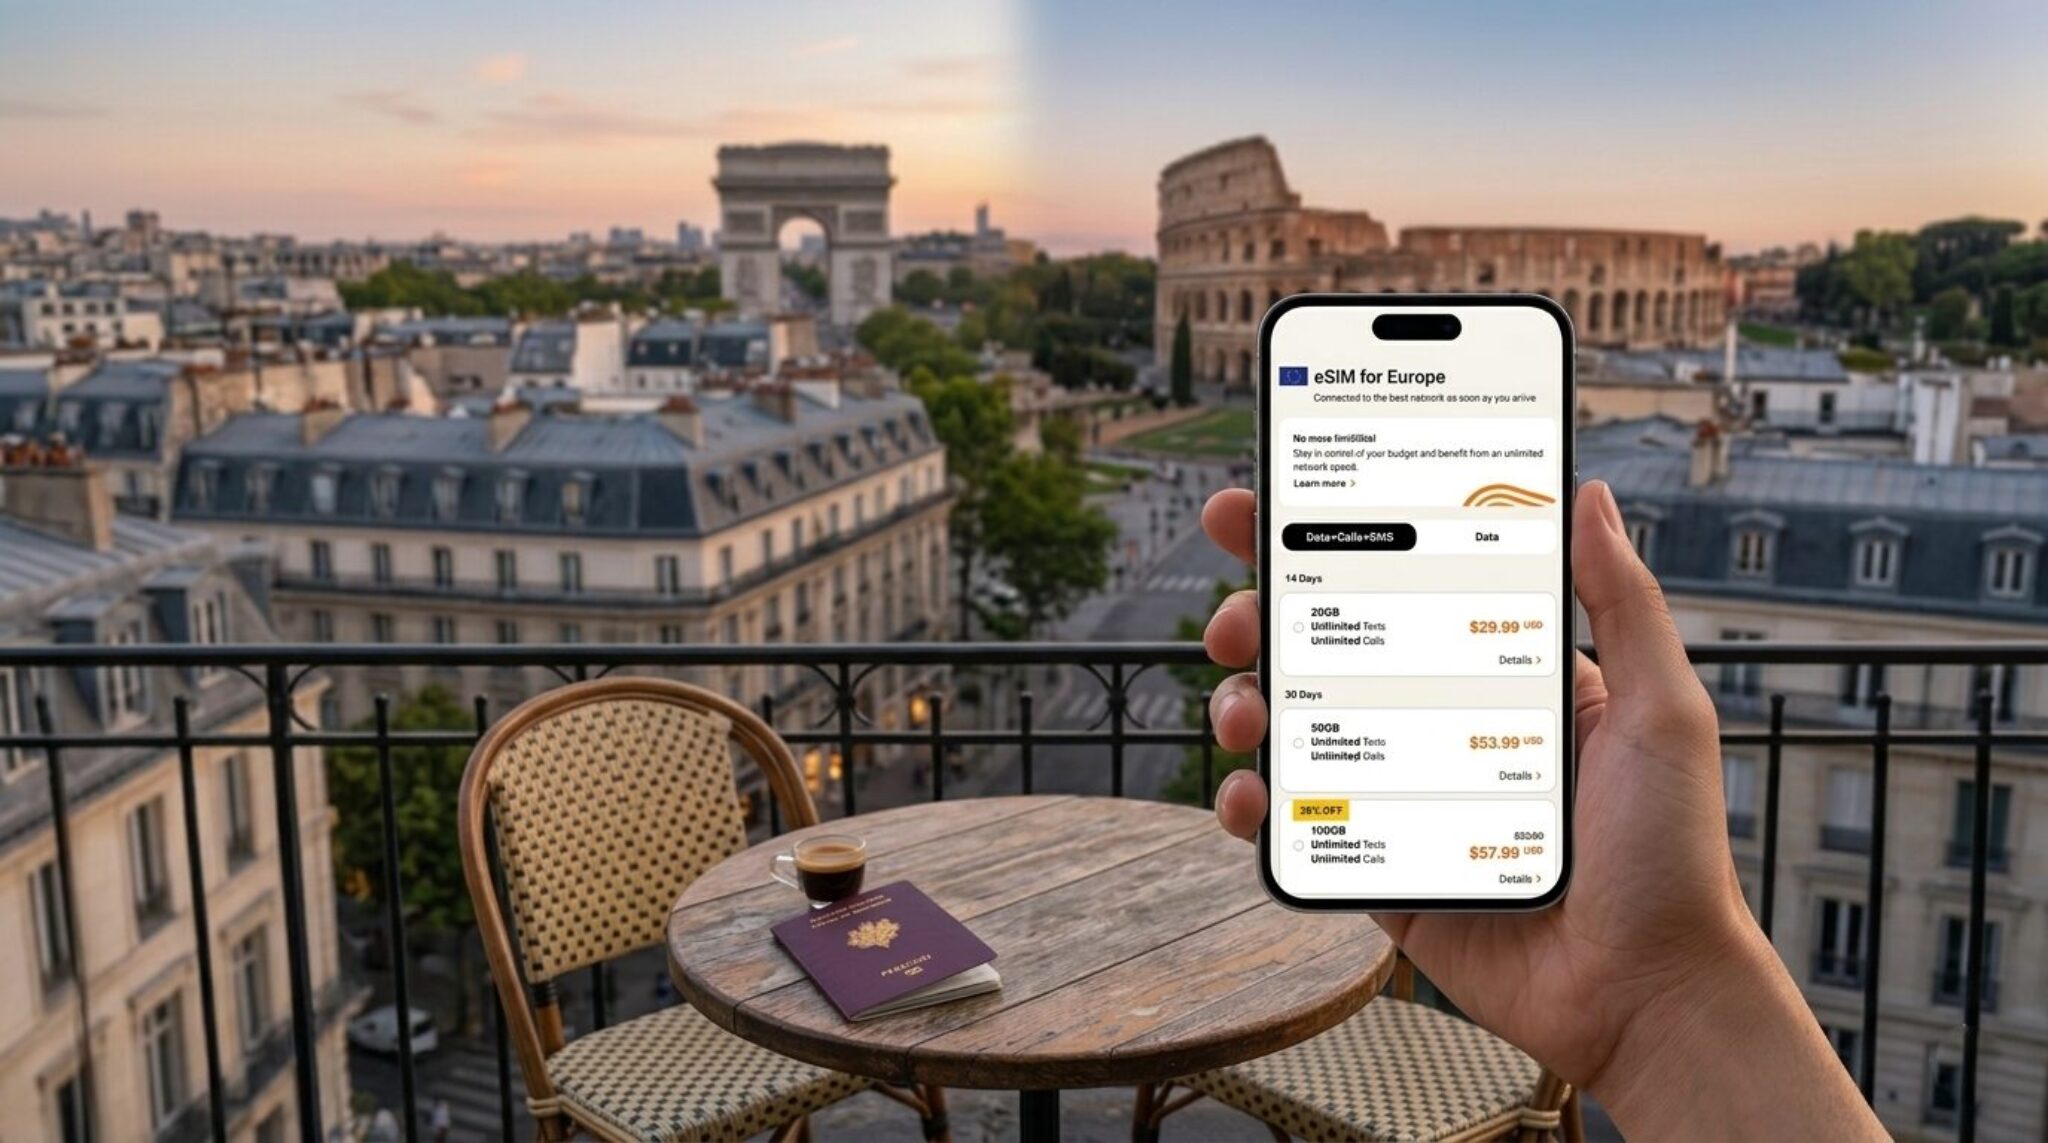
Most modern flagship and mid-range smartphones support eSIM, but compatibility varies by region and carrier. For international trips, unlocked travel-friendly eSIM phones like the iPhone XS or newer (excluding some Chinese models), Google Pixel 3 and later, Samsung Galaxy S20 or newer, and recent Motorola, Huawei, and Xiaomi flagships generally work. Check your device’s IMEI with your eSIM provider before departure, as some carrier-locked US or Japanese phones disable the eSIM slot. Also, budget phones from 2021 onward increasingly include it, but verify settings under “Cellular” or “Connections” for “Add eSIM.”
- iPhone 13–15 series and iPhone SE (2022) support dual eSIMs for multi-network travel.
- Google Pixel 6–8 series allow instant eSIM activation via QR codes from travel apps.
- Samsung Galaxy S21–S24 and Z Fold/Flip models support eSIM in most global variants.
- Older iPhones (XS–12) work but require a physical nano-SIM alongside one eSIM.
Why Should You Switch to a Digital SIM for Your Next Trip Abroad?
Switching to a digital SIM for your next trip abroad means you’re connected the moment you land, without hunting for a local vendor or fumbling with tiny plastic cards. An eSIM for travel eliminates physical swapping, letting you install a data plan before you even leave home, then toggle between your home and destination numbers seamlessly. You stay reachable for banking texts and WhatsApp calls while enjoying local rates that beat roaming fees by a mile. No more lost SIMs or damaged trays—just a QR code scan in your airport lounge and you’re live.
Your phone becomes your passport to instant connectivity, with zero downtime and full control over your data budget.
That’s the real win: freedom to stay online, stress-free, from gate to hotel.

How Much Money Can You Save Compared to Roaming Fees?
Roaming fees typically cost $10–$15 per day for a modest data allowance, while a regional travel eSIM often runs $15–$30 for the entire trip’s data package. For a two-week vacation, that difference translates to roughly $125–$180 in direct savings per traveler, because you pay a flat rate for a fixed gigabyte pool instead of a daily surcharge. Even a light data user who only needs maps and messaging will find eSIM plans undercut carrier roaming by 70–90% for equivalent usage. You also avoid surprise overage charges, which can triple your bill the moment you exceed a daily cap. Thus, the total cost advantage becomes clear when you calculate per-gigabyte pricing, which is consistently lower than any standard international roaming add-on.
Switching to a travel eSIM can cut your connectivity costs by up to 90% compared to daily roaming fees, saving you hundreds on a single trip.
The Convenience of Arriving Connected: No Airport SIM Hunt Required
Landing after a long flight is exhausting enough without queuing at a kiosk or wrestling with a tiny SIM tray. With an eSIM, you switch on your phone and you’re already online—no frantic hunt for a local vendor or fumbling with unstable airport Wi-Fi. You simply scan a QR code before departure or install the profile at home. Once you touch down, your data plan activates immediately, so you can message your ride, check maps, or post that first travel photo right away. This zero-wait connectivity on arrival turns a stressful airport chore into a seamless, instant welcome. The practical sequence is simple:
- Install your eSIM before boarding.
- Disable your primary line or set data roaming off.
- Power on after landing—you’re already connected.
How to Choose the Right Data Plan for Your Destination and Needs
Before you land, open your eSIM app and map the actual places you’ll roam—a café-heavy Lisbon weekend needs 3GB, but a GPS-guided road trip through the Highlands burns 1GB daily on maps alone. Match your plan’s validity to your itinerary’s spine, not its tail: buy a 10-day pass if you land Tuesday and fly home Thursday, avoiding the wasted days of a 30-day option. Check the coverage map for the *specific countries* you’ll visit, not just “Europe,” because a regional plan often skips micro-states like Andorra or Monaco.
Always buy a plan that allows top-ups, so a sudden video call or lost-hotel-search doesn’t strand you at a café begging for Wi-Fi.
Finally, prioritize plans with tethering included if you’ll share a hotspot with a travel partner—otherwise, your “right” data amount becomes fiction.
What Factors Affect Data Speeds and Coverage in Different Countries?
When traveling with an eSIM, data speeds and coverage hinge on the local network infrastructure each host country has deployed. In nations with dense 5G rollouts (e.g., South Korea or Switzerland), you’ll experience faster throughput than in regions relying on older 3G/4G bands, so check the eSIM’s supported spectrum for your destination. Coverage also varies by terrain—mountainous or rural areas often have weak signal from a single carrier, while urban centers benefit from multiple towers. Your eSIM’s roaming agreement ties you to specific local carriers, so a plan that uses a premium network in one country may drop to a budget operator in another, drastically lowering speeds. Finally, congestion during peak hours in tourist hotspots can throttle even strong connections, making local tower density the deciding factor.
Data speeds and coverage depend on a country’s network generation, carrier partnership quality, terrain, and urban congestion—verify your eSIM’s local operator before relying on it.
How to Match Plan Duration and Data Allowance to Your Travel Style
Match plan duration to your itinerary’s fixed anchor points—if you return on a specific date, a 30-day plan beats rolling daily packs only when you need consistent coverage across that full window. For data, estimate your daily consumption by travel style: a city hopper using maps, ride-hailing, and messaging rarely exceeds 1–2 GB daily, while a nomadic remote worker uploading media or joining video calls should budget 3–5 GB per day. Choose a plan with a hard cap slightly above your calculated total, not an “unlimited” throttle that cripples navigation at peak hours. If your route splits into a week of heavy use and a week of light sightseeing, layer a short high-volume plan with a minimal top-up rather than overpaying for uniform bandwidth. This precision prevents both run-outs and wasted gigabytes.
Matching plan duration to your travel’s fixed dates and data allowance to your daily usage pattern ensures you pay only for what you actually consume.

Step-by-Step Guide to Activating and Managing Your Digital SIM
To activate a travel eSIM, first confirm your device is unlocked and supports eSIM, then purchase a plan from a provider like Airalo or Holafly. Scan the QR code sent via email in your phone’s cellular settings, or manually enter the activation code; label the line as “Travel” to distinguish it from your primary number. After installation, enable the travel line for cellular data and ensure your home line is set to “Use as Backup” to avoid roaming charges. Manage your plan through the provider’s app to top up data, extend validity, or switch between regional and global packages. To prep for your trip, activate the eSIM a day early over Wi-Fi so it registers automatically on landing. *However, always download your QR code or APN details offline before departure, as airport Wi-Fi can be unreliable for last-minute setup.* If data fails abroad, toggle airplane mode or manually reselect the local network in carrier settings. Finally, remove the eSIM after your trip to free space for future travel plans.
Scanning the QR Code and Installing the Profile Before You Depart
Before you depart, scan the QR code and install the eSIM profile while you still have a stable Wi-Fi connection, as this avoids data gaps upon landing. Ensure your device is unlocked and connected to the internet, then open your camera or the carrier’s app to scan the QR code provided in your confirmation email. After scanning, follow the on-screen prompts to download and activate the profile, naming it clearly so you can distinguish it from your primary line. Crucially, do not delete the QR code email until activation succeeds, since some providers require re-scanning if the initial installation fails. Finally, verify the profile appears under Cellular Settings and set it as the default for data roaming, but keep your primary line off for calls to prevent accidental charges.
How to Switch Between Your Home SIM and Travel Data Plan Seamlessly
Switching between your home SIM and a travel eSIM $1 eSIM is quick once you know the trick. On both iPhone and Android, dive into your cellular or mobile network settings—you’ll see both lines listed. Just toggle the line you want active for data, and keep the other for calls or SMS, or turn it off completely to avoid roaming fees. For truly seamless switching between home SIM and travel data, disable “automatic network selection” and pick your destination carrier manually to prevent annoying dropouts. Always test the switch before you leave the airport so you’re not fumbling with menus while jet-lagged.
**Q: How do I switch between my home SIM and travel data plan without missing calls?**
A: Set your home SIM for calls/SMS only, then select your travel eSIM as the data line. Calls still come through on Wi-Fi calling if available, or you can forward them—no need to disable your home line entirely.
Common Pitfalls When Using Virtual SIMs and How to Avoid Them

The biggest trap when using an eSIM for travel is assuming instant activation—many providers need a stable Wi-Fi connection to download the profile, so install it before you leave home. Another pitfall is ignoring the coverage map; a “global” plan might route data through a partner network that’s painfully slow in rural areas. Also, don’t forget to disable your primary SIM’s data roaming, or you’ll rack up charges while thinking you’re safe. Finally, avoid buying too small a data package; navigation and photo uploads eat through gigabytes fast. Always test your eSIM’s connectivity at the airport before heading out, and keep your QR code saved offline as a backup. Q: What’s the fastest way to fix an eSIM that won’t connect? A: Toggle airplane mode on and off, then manually select a local network in your phone’s carrier settings—this usually forces a reconnect without rebooting.
What Happens if You Run Out of Data Mid-Trip and How to Top Up Fast
When your eSIM data dries up mid-trip, your connection doesn’t vanish instantly—you’ll typically feel it through stalled maps or a failed message, though some providers send a warning first. Your fallback isn’t hunting a physical SIM; most eSIM apps allow **instant top-up while roaming** through their dashboard, payable via card or PayPal, often activating within seconds. If the app itself won’t load, use hotel Wi-Fi to log into the provider’s website. Alternatively, buy a cheap local data pass from the same eSIM brand. Crucially, keep your original eSIM profile intact—topping up adds new allocation without deleting your current setup, so you avoid re-downloading QR codes or losing your number mid-journey.
Why Your Phone Might Not Connect and How to Troubleshoot Abroad
Your phone often fails to connect abroad because the eSIM profile’s APN settings don’t match the local carrier, or because data roaming wasn’t toggled on after installation. Another culprit is selecting “Manual” network search when the device locks onto a weak tower from a previous destination. To fix this, first restart your device to force a fresh carrier registration. Then, verify that the correct eSIM line is enabled for data and set to “Automatic” network selection. If still offline, delete and re-download the eSIM profile—this refreshes the authentication keys. Finally, manually enter the APN from your provider’s setup guide to establish a stable connection.
- Turn off Wi-Fi and reboot the phone.
- Check that “Data Roaming” is ON for the travel eSIM.
- Disable “Manual” network mode and let it auto-search.
- Reinstall the eSIM or update APN fields exactly as listed.
Answers to Your Biggest Questions About Using Mobile Data Overseas
The biggest question about using mobile data overseas—how to avoid bill shock while staying connected—is answered directly by eSIM for travel because you can install a local or regional data plan before you depart, eliminating roaming charges and SIM swapping. When you land, your phone automatically connects to the chosen network, so you don’t need to hunt for Wi‑Fi or risk using your home carrier’s default roaming. A common concern is whether your phone supports eSIM; check for “eSIM‑compatible” in settings (usually under Cellular or Mobile Data) and unlock your device with your carrier, as locked phones won’t accept foreign profiles. Another frequent query is how much data to buy—for navigation and messaging, 1–2 GB per week suffices, but if you stream video or upload photos daily, choose 5 GB or more, as topping up mid‑trip is easy through the provider’s app.
Enable “Data Roaming” only for the eSIM line, and keep your primary line off to prevent accidental fallback charges.
Finally, if connectivity fails, manually select the local network operator from your phone’s settings, since most travel eSIMs automatically scan, but manual selection often resolves gaps in coverage.
Can You Keep Your Regular Number Active While Using a Travel Plan?
Yes, you can keep your regular number active while using a travel eSIM, but only if your phone supports dual SIM (eSIM + physical SIM). Your home SIM remains active for calls and texts on your regular number, while the travel eSIM handles mobile data. To avoid surprise roaming charges, disable cellular data on your home line and set the travel eSIM as the data line. Also, check that your home carrier allows international roaming, even if disabled, or you may lose service. Keeping your regular number active typically requires these steps:
- Install the travel eSIM before departure.
- In settings, turn off “Data Roaming” for your home SIM.
- Select the travel eSIM for data, and keep your home SIM for voice/SMS.
This way, you receive calls and texts on your usual number, while data usage runs entirely through the travel plan—no need to swap or deactivate anything.
Is It Safe to Use a Digital SIM for Banking and Personal Apps?
Using a digital SIM for banking and personal apps is safe when you retain your primary number for SMS verification and download your eSIM profile directly from the carrier or a reputable storefront. The eSIM itself only handles data routing; it does not expose your device to new malware vectors. Your banking app’s security rests on end-to-end encryption and your phone’s lock screen, not the SIM type. To avoid account lockouts, keep your home SIM active in a second phone or use Wi-Fi calling before switching. Never install an eSIM from a random QR code shared online, and always verify the provider’s name in your phone’s settings before approving the profile.
- Use a separate device for one-time passcodes if your phone only has one eSIM slot.
- Disable auto-join on unknown Wi-Fi networks while using the eSIM for banking.
- Check that your bank’s app allows session continuity across network changes; if not, re-authenticate after switching profiles.